I had no idea that I will be able to try these kind of sweets years ago when I started cooking. For me making these Dharwad Peda at home is a personal milestone in cooking. They taste so good… Do not know where to start exclaiming about this wonderful sweet.
Dharwad peda is a trademark and a well protected sweet recipe from the beautiful land of Dharwad, Karnataka. This recipe has been protected for generations by families like Mishra, Thakur from that region.
This recipe may not even be the way these Dharwad peda are prepared. But I won’t complain they taste so similar and look so similar. So no complaints. Hats off to those folks who have developed and perfected the ‘Dharwad Peda’ recipe for years.
Coming to the making part, I have borrowed tips and tricks from a couple of blogs to make these rich and tasty sweets. A super sweet for Deepavali or any other festival or just like that. I don’t think of reasons to make this sweet, can’t wait to make ’em again! Meanwhile do try this recipe and share your experiences.
I have used the khova method to make these Dharwad Peda. Some people also use the chenna method (curdling milk method). I liked this method a lot. I have used homemade khova to make Dharwad peda. Follow the steps correctly and there is no reason why they would not turn out well.
I have clicked a lot of photos to help you guide through the steps. Enjoy making this recipe, share and have fun!
Try more sweets from FOI. Milk peda, kalakand are top from my list 🙂
Including preparing homemade khova, this recipe took around 2 1/2 hours to complete, laborious but totally worth it!
- 300-325 Gm store bought or homemade khova
- ½ Tbsp ghee
- ½ Cup sugar
- 3-4 Tbsp milk
- 2-3 Tbsp granulated sugar/castor sugar for coating
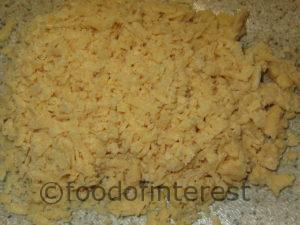
- Grate khoya using thick holed grater. Ensure there are no lumps
- Add ½ Tbsp ghee to a thick bottomed pan
- Tip in the grated khova and start sauteing
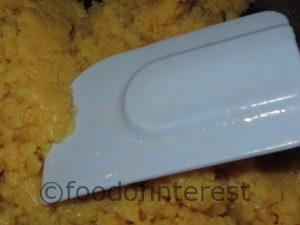
- Using a rubber spatula or the back of blunt edged spoon, carefully press the khova
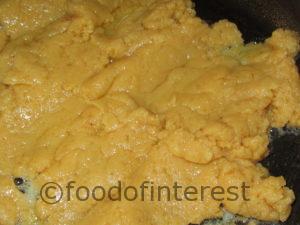
- Khova starts to turn soft. Keep sauteing on low flame
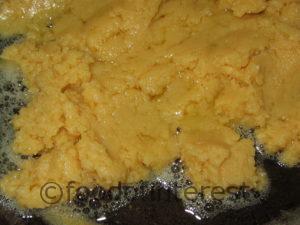
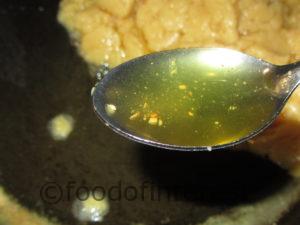
- Once it mixes evenly, it now starts to ooze out ghee. This is a very good sign
- Move softened khova slightly away from the ghee
- Collect the ghee using a spoon and store to use it for some other dish (remember this is from unsweetened, unflavoured khova)
- Further saute the khova mixture. It presents a pleasant aroma
- Keep softening it up. This sauteing process is quite time consuming. A gentle reminder to keep sauteing on low flame
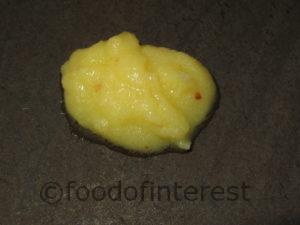
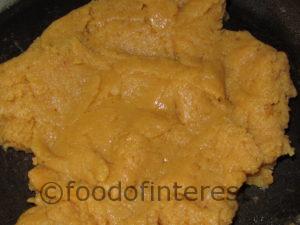
- Take a little mixture on a plate and check if it solidifies a bit
- This is now ready to take in some sugar!
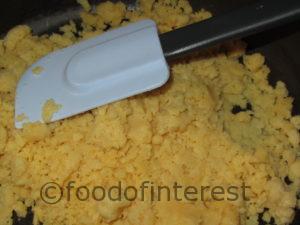
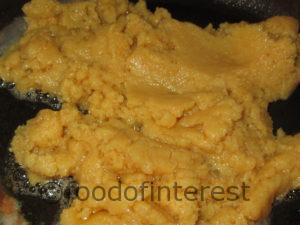
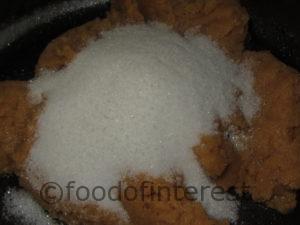
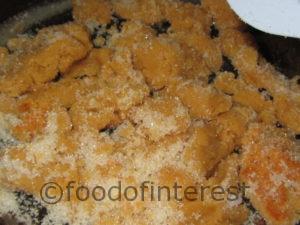
- Add sugar, start mixing it. Looking at the photo below, it almost looks like we are there. But no, we are still only half way through the process
- Keep breaking the khova-sugar mixture. Keep mixing it in. Low flame please!
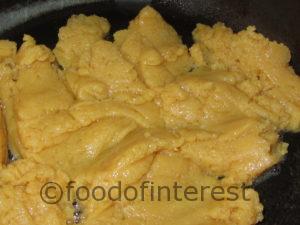
- Soften, soften, soften!
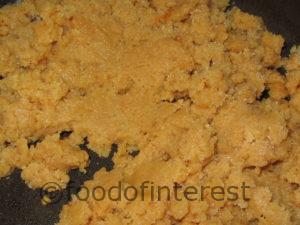
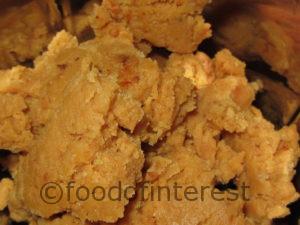
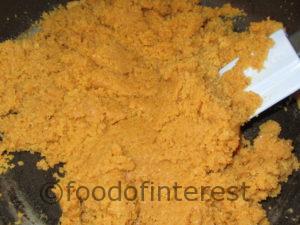
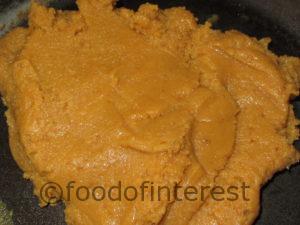
- It now starts to gather into a lump and sugar has well amalgamated into khova
- Look, it has also changed colour
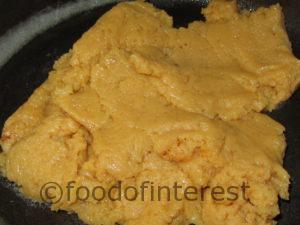
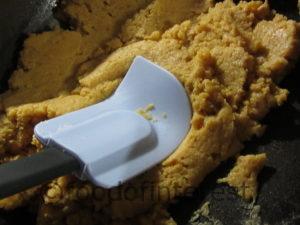
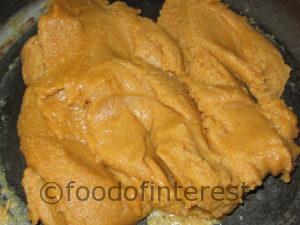
- Put this out on a plate
- Soften lightly, let it cool completely
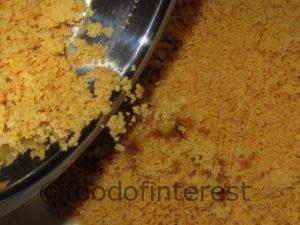
- Once it has cooled, take this into a mixer jar
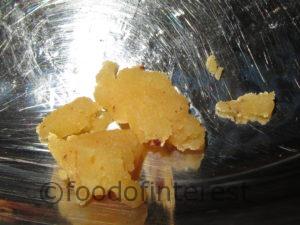
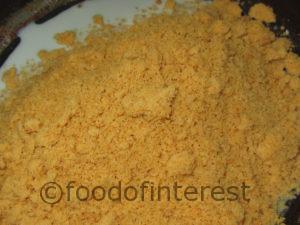
- Pulse, the mixture breaks down
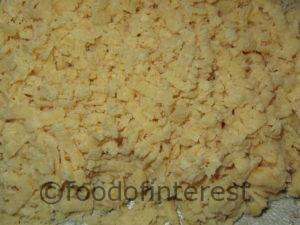
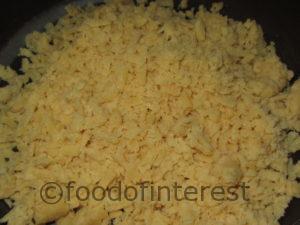
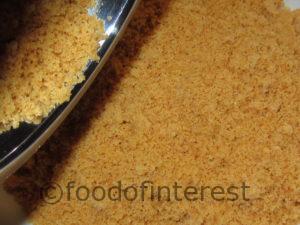
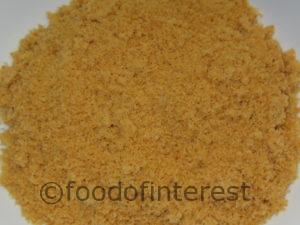
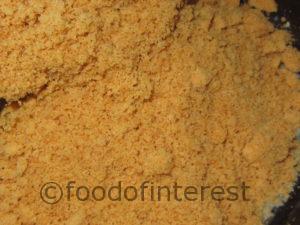
- Take a closer look at the texture, it should be coarse almost sand like texture
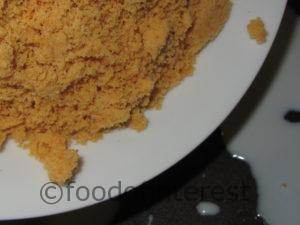
- Put this coarse mixture into a plate
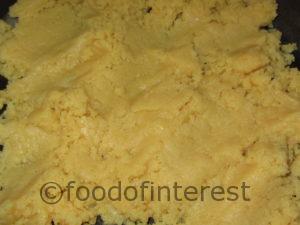
- Spread it out
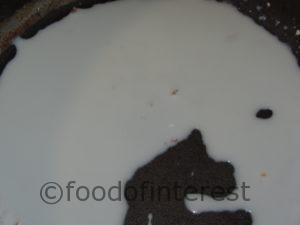
- Pour about 3-4 Tbsp of milk in the pan
- Add the granulated mixture
- Start mixing and mix well!
- Milk gets totally absorbed
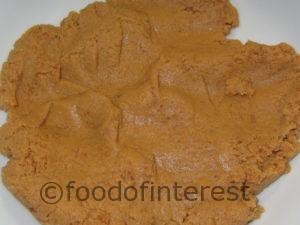
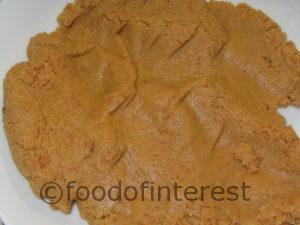
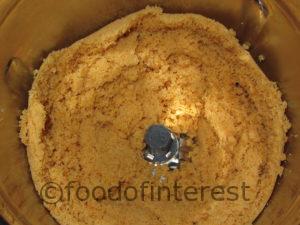
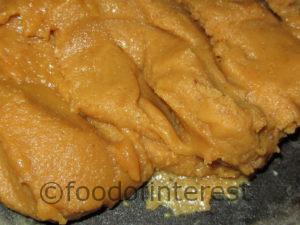
- It once again starts to gather into a lump
- You will see the surface has light sheen
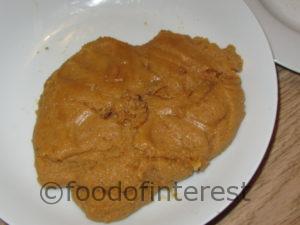
- Mix well and turn it over into a plate. Let it cool a little
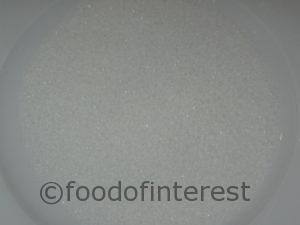
- Keep some fine granulated sugar in a plate
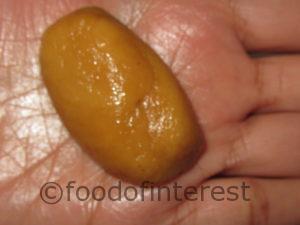
- The time has finally come to roll the pedas
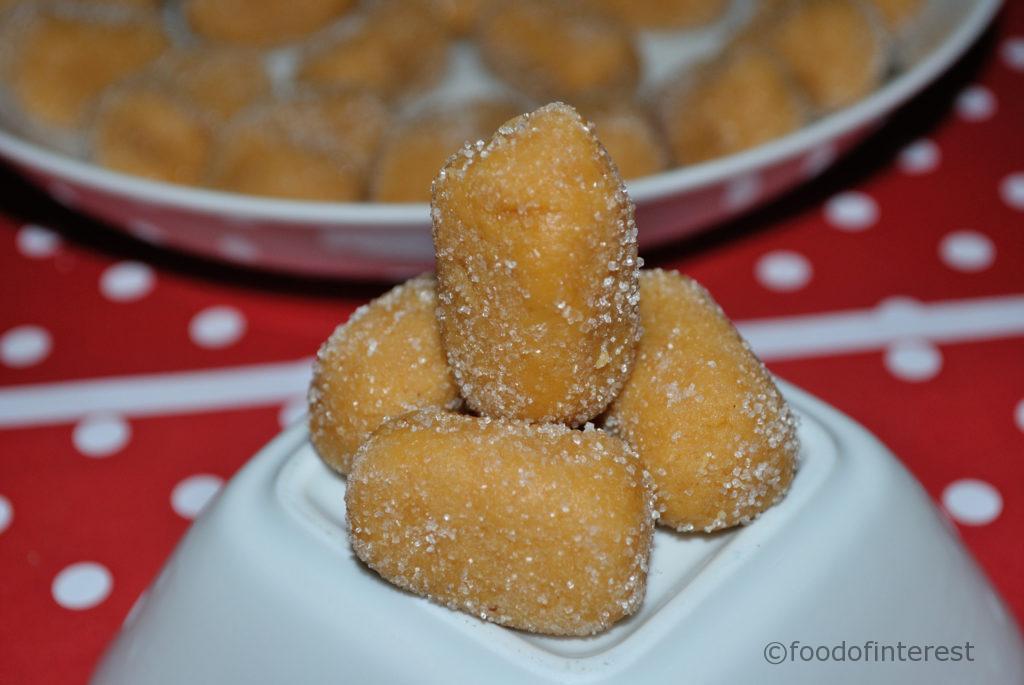
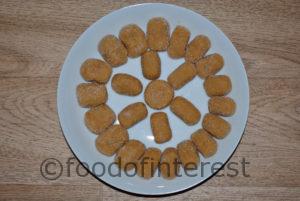
- Roll into rounds or elongated pedas. They should not be perfect, non-uniform is the norm (wink)
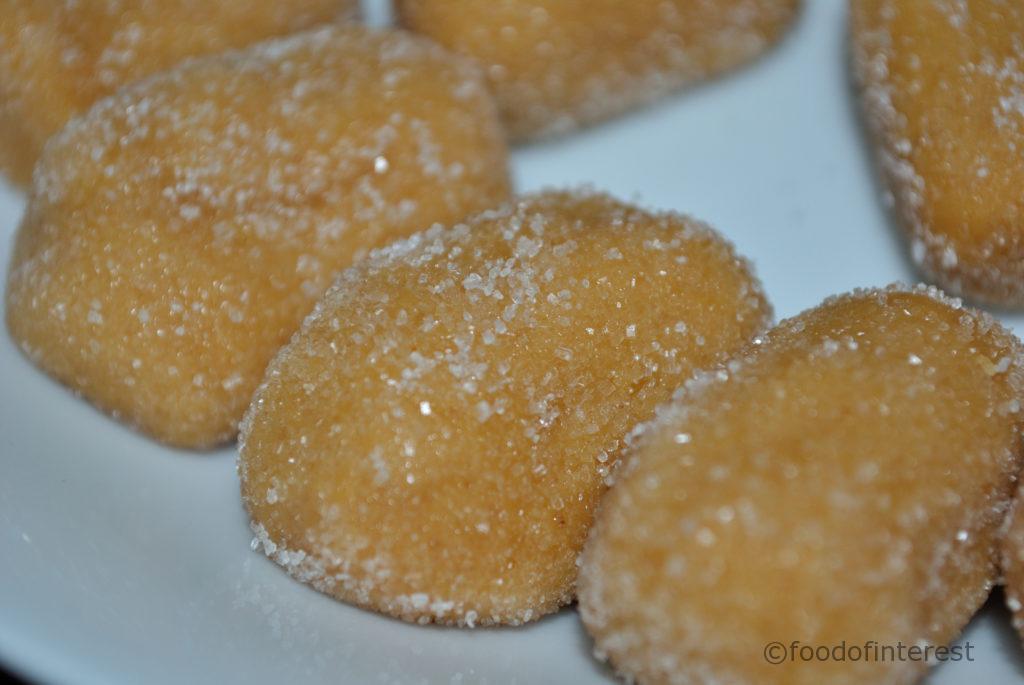
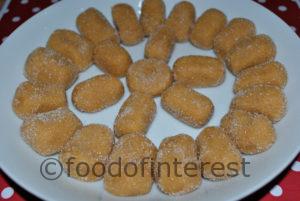
- Throw the peda into granulated sugar or castor sugar
- Roll all over and make sure sugar coats every last bit of the peda
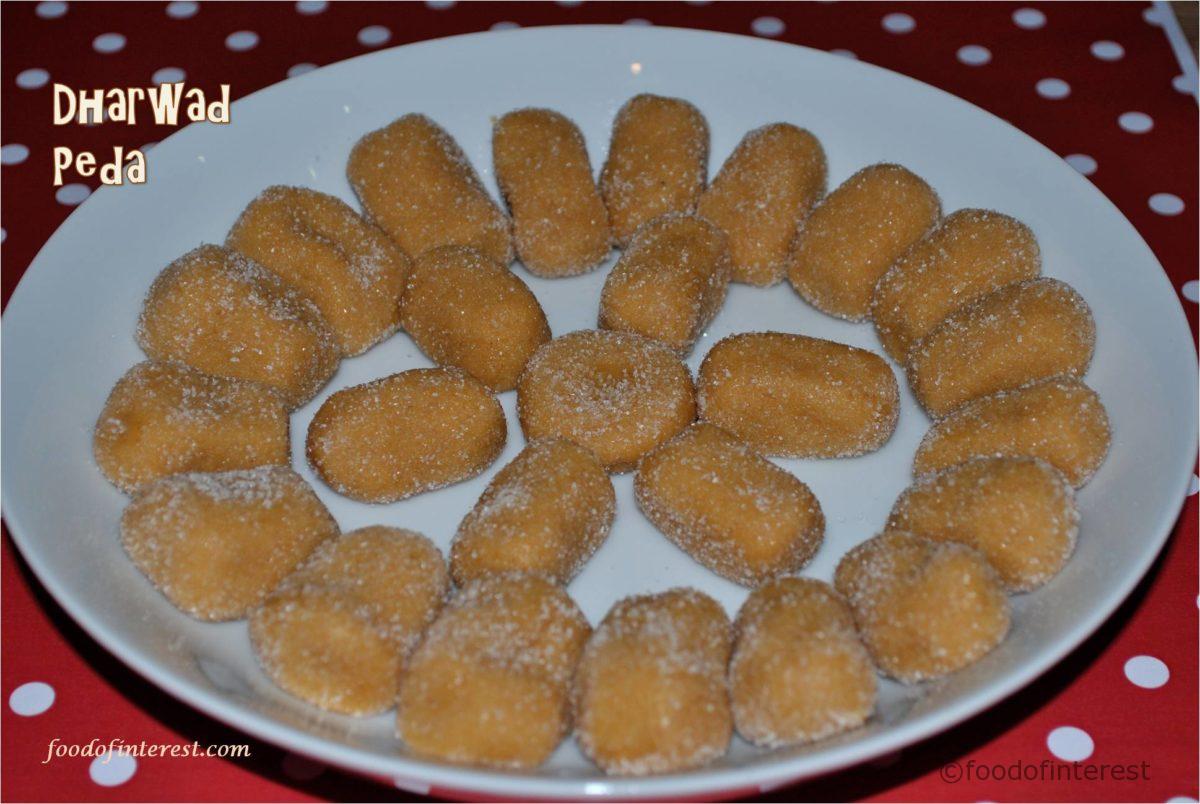
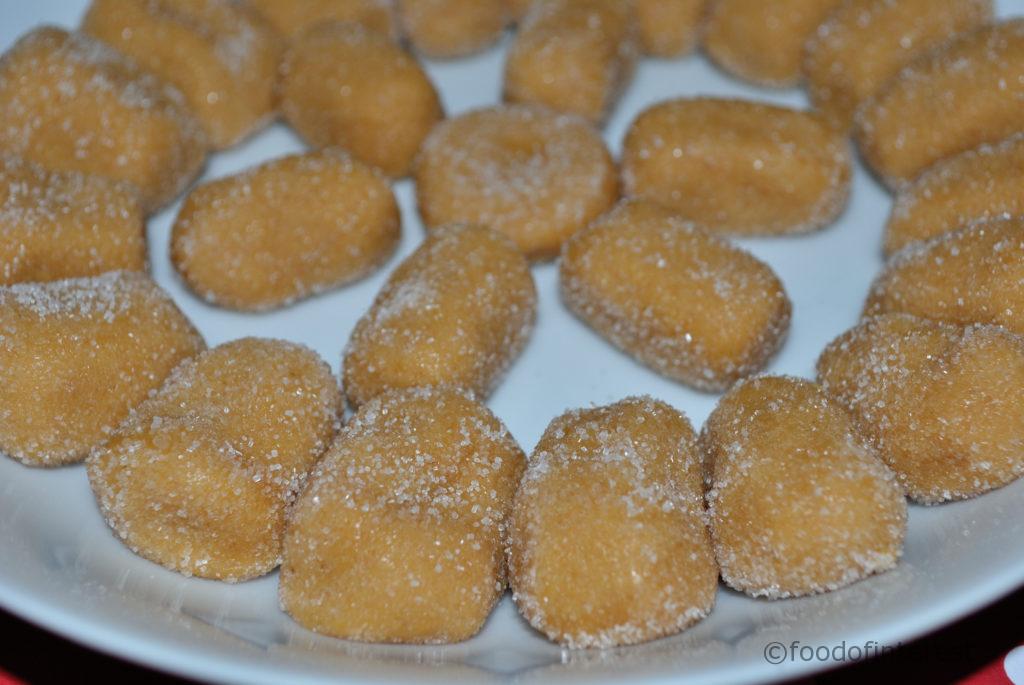
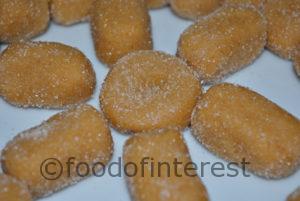
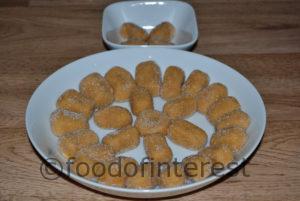
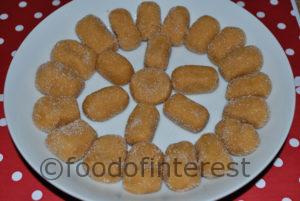
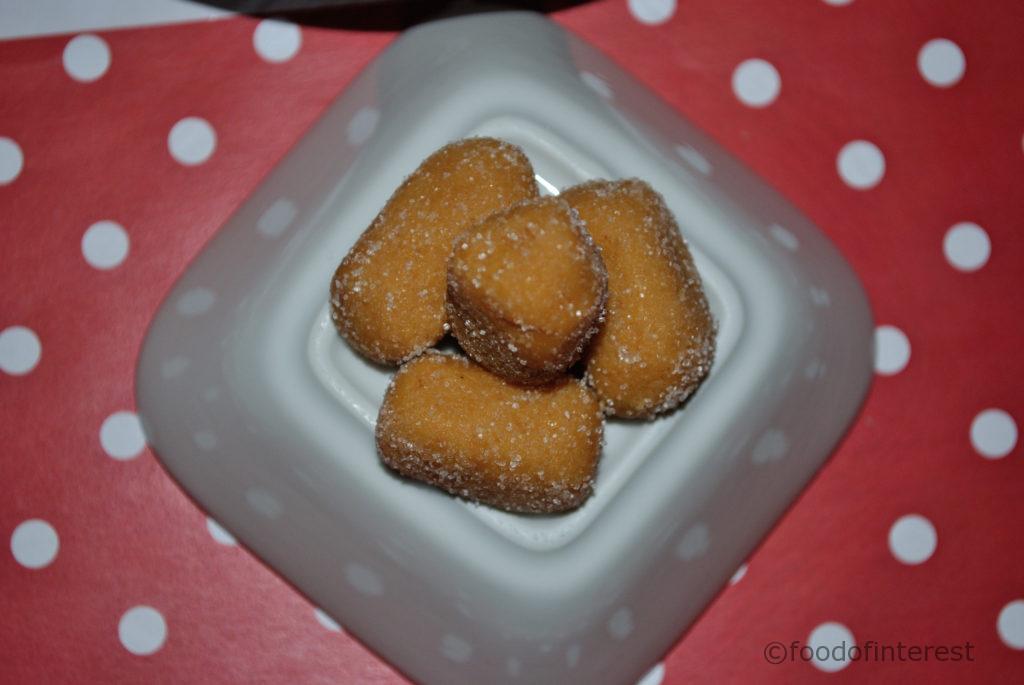
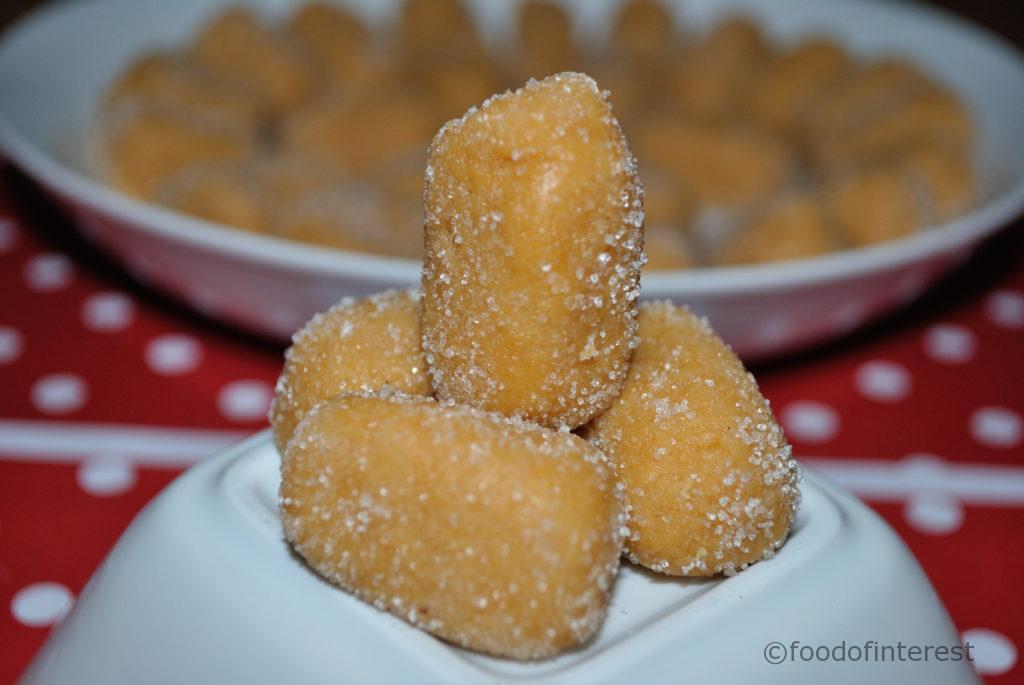
- Similarly make the other pedas. With this quantity, it made around 30 pedas
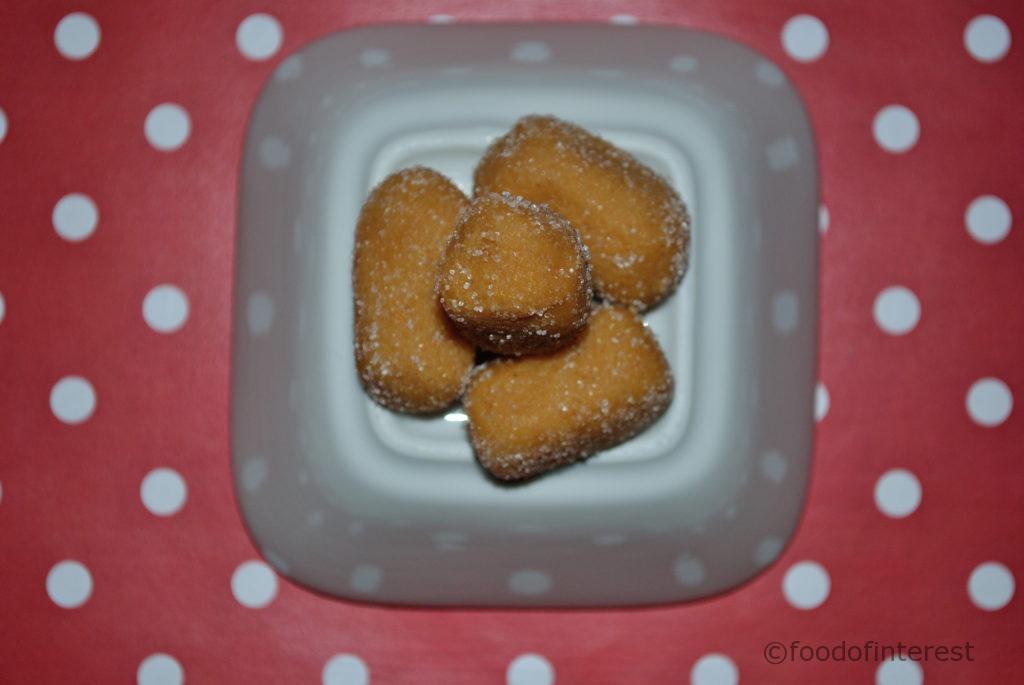
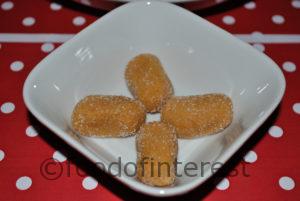
- Savour the pedas. Just enjoy these little beauties!
- Whew that was a long list of steps!
A suggestion, when making this sweet, try not to prepare anything else, this needs your full attention and you will not feel tired. It is indeed quite a long recipe!
Follow the rest of the steps carefully, please let us know by rating and leaving a message on our website
Dharwad Peda Stepwise:
Grate khoya using thick holed grater. Ensure there are no lumps
Add 1/2 Tbsp ghee to a thick bottomed pan
Tip in the grated khova and start sauteing
Using a rubber spatula or the back of blunt edged spoon, carefully press the khova
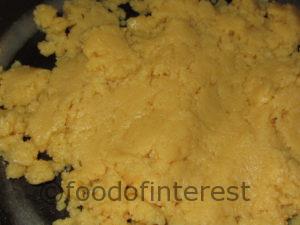
Khova starts to turn soft. Keep sauteing on low flame
Once it mixes evenly, it now starts to ooze out ghee. This is a very good sign
Move softened khova slightly away from the ghee
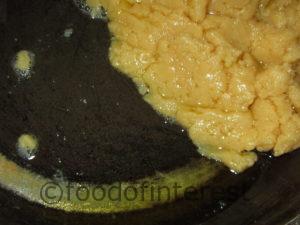
Collect the ghee using a spoon and store to use it for some other dish (remember this is from unsweetened, unflavoured khova)
Further saute the khova mixture. It presents a pleasant aroma
Keep softening it up. This sauteing process is quite time consuming. A gentle reminder to keep sauteing on low flame
Take a little mixture on a plate and check if it solidifies a bit
This is now ready to take in some sugar!
Add sugar, start mixing it. Looking at the photo below, it almost looks like we are there. But no, we are still only half way through the process
Keep breaking the khova-sugar mixture. Keep mixing it in. Low flame please!
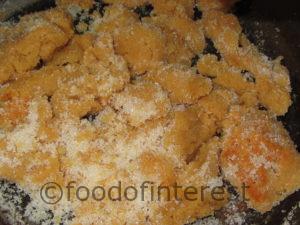
Soften, soften, soften!
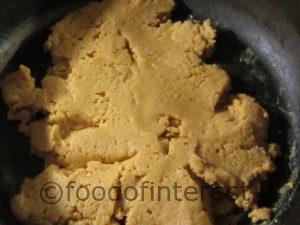
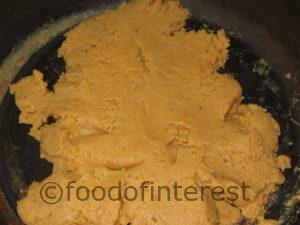
It now starts to gather into a lump and sugar has well amalgamated into khova
Look, it has also changed colour
Put this out on a plate

Soften lightly, let it cool completely
Once it has cooled, take this into a mixer jar
Pulse, the mixture breaks down
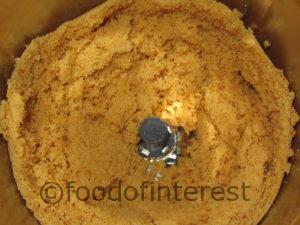
Take a closer look at the texture, it should be coarse almost sand like texture
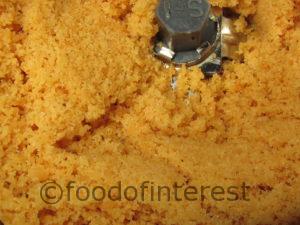
Put this coarse mixture into a plate
Spread it out
Pour about 3-4 Tbsp of milk in the pan
Add the granulated mixture
Start mixing and mix well!
Milk gets totally absorbed
It once again starts to gather into a lump
You will see the surface has light sheen
Mix well and turn it over into a plate. Let it cool a little

Keep some fine granulated sugar in a plate
The time has finally come to roll the pedas

Roll into rounds or elongated pedas. They should not be perfect, non-uniform is the norm (wink)
Throw the peda into granulated sugar or castor sugar
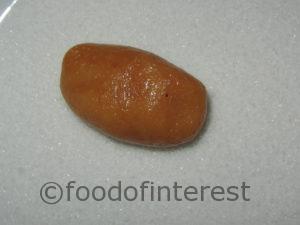
Roll all over and make sure sugar coats every last bit of the peda
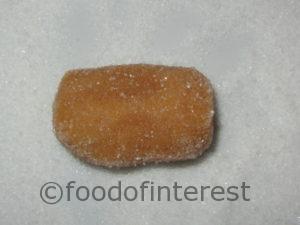
Similarly make the other pedas. With this quantity, it made around 30 pedas
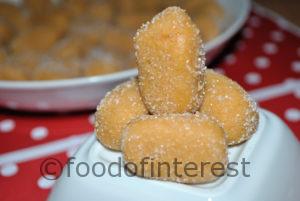
Savour the pedas. Just enjoy these little beauties!


Whew that was a long list of steps!


This blog was very informative, and it’s a very useful blog. Good Content about Mishra Pedha.
If you need to buy Mishra Pedha visit our site.
Thank you 🙂